Six Series Enrollment Process
Related Products


Document Transcript
When “Serial Number” has been selected “Enter Serial Number or Activate” is
displayed. Follow the applicable steps below to enroll the SiX™ Series sensors.
Enroll SiX™ Series Devices (Refer to the documentation provided with the specific
SiX™ device being enrolled for additional information.)
Enroll via RF Learning
1. Insert the battery in the sensor or pull the battery tab as applicable. The sensor’s
green LED will flash rapidly. Allow up to 20 seconds for pairing to complete. If the
sensor has been successfully paired with the control, the sensor’s green LED will
light steady for three seconds and the control will beep once to confirm. If the
pairing is not successful, remove the battery and repeat this step.
2. Two transmissions (open/close) of the device will be required. The device serial
number is displayed on the screen following the first transmission and the panel
beeps two times. Following the second transmission the system beeps three times
and returns to the Zone Programming Screen.
3. The device’s battery level and signal strength is displayed on the Lyric control’s
Zones programming screen. For additional information regarding signal strength
refer to the Installation & Reference Guide.
Enroll Six Series Devices Manually
1. Select the “RF Type” to scroll through the available Six Series device types:
2.
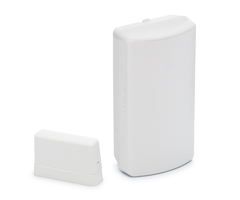
Contact
Glass Break
Motion
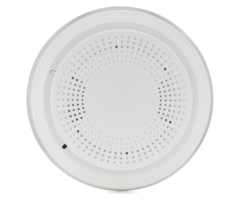
Smoke
Wireless Siren
Enter the 16-digit serial number (MAC ID) printed on the transmitter using the
displayed keypad and select “Done”.
NOTE: Enter only the 16 alpha-numeric characters.
3.
4.
The system beeps one time and returns to the Zone Programming Screen and
displays the programmed Serial Number and Service. Select “Save”.
The system returns to the Zone Programming Screen and the device’s battery
level and signal strength is displayed on the Lyric control. Activate the device to
confirm the enrollment.
NOTE: If a duplicate serial number is entered, the system will emit a single long beep and
a confirmation screen will be displayed. Select “OK”. The system returns to the previous
screen.
- Uploaded


