2GIG XCVR5e-345
GC2e Transceiver for eSeries Sensors and Image Sensor 3

Description
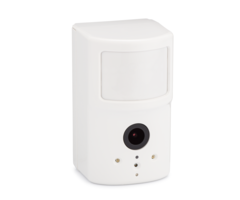
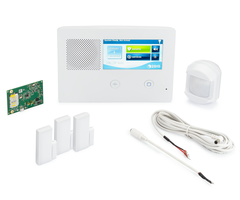
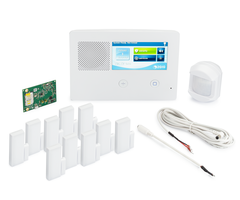
The 2GIG XCVR5e-345 is a transceiver module for use with the 2GIG GC2e panel. It replaces the existing 345 MHz receiver and adds bi-directional support for the Image Sensor 3. Prior to the release of the XCVR5e-345, users of the 2GIG GC2e had to choose between using the Image Sensor 3 or using eSeries transmitters.
In order for the 2GIG GC2e to support the XCVR5e-345, it must have firmware version 1.23+. Each 2GIG GC2e comes with a receiver capable of receiving 345 MHz signals for both legacy 2GIG and Honeywell sensors, and the new 2GIG eSeries encrypted sensors. In order to support any of the 900 MHz accessories that work with the GC2e, this receiver must be removed, and a new transceiver module installed.
There are two (2) transceiver modules capable of supporting 345 MHz sensors, both legacy and eSeries encrypted, and 900 MHz devices. The 2GIG XCVR2e-345 supports both the 2GIG TS1 Wireless Touchscreen Keypad and the Image Sensor 1. The 2GIG XCVR5e-345 supports the Image Sensor 3. There is currently no transceiver module that will support all three (3) of these products along with both the encrypted and non-encrypted 345 MHz sensors.
2GIG and Alarm.com have stopped producing Image Sensors as of late 2022, however, if you have an Image Sensor 3 available and you would like to use it with the 2GIG GC2e, then the XCVR5e-345 is a must-have. To install it, simply power the panel completely down by unplugging both the transformer and the battery from the back of the panel. Locate the factory-installed receiver and pull it straight off the back of the main board. Line up the XCVR5e-345 and slide it into place over the pins on the main printed circuit board. Pay close attention to the antenna, and be sure it is properly oriented based on the images shown in the install guide provided with the XCVR5e-345.
Plug in the battery, and then the transformer, and allow the panel to boot up. Verify the 2GIG XCVR5e-345 is functioning properly. One way you can do this is by testing to be sure that a wireless sensor that was working before the switch is still being seen by the panel after installation. Once you're sure the transceiver module is working with 345 MHz sensors, you can follow the instructions for adding the Image Sensor 3.
Brand: 2GIG
2GIG XCVR5e-345 Compatible Products


