Qolsys IQ Panel 4: Configuring the Slideshow (Photo Frame) Feature
Related Products
Description
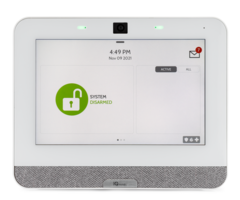
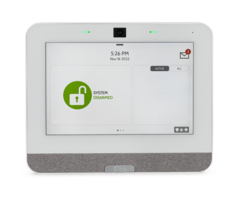
In this video, Dylan shows you how to set up and configure the Photo Frame feature, sometimes called the Slideshow, on a Qolsys ...
Transcript
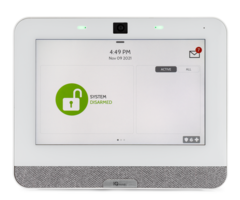
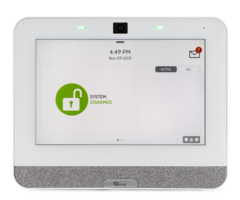
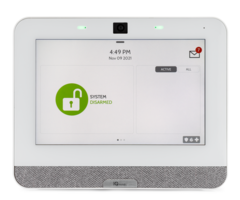
[AUDIO LOGO] Hey, DIYers. Dylan here with Alarm Grid. Today we're going to go over how do I enable the photo frame mode on my IQ 4 Panel. So what this does is that you can upload certain images to the actual panel to act as a screen saver. There are some default images on here. I'm going to show you how to access those, how to upload your own, and how to adjust the settings for this option. OK, so we have our IQ Panel 4 here. So we'll start by first going to the actual photo frame option. So to do that, you'll press the top gray bar. Photo frame is right there in the center. All right, so we have some preloaded images here. The system can only hold a certain amount of images. So if you're wanting to upload your own custom ones, it's good to actually delete the ones from the panel first. So what to do for that is that we will go ahead and press Delete. Select all, Delete, and then the green check mark there. And then like I mentioned, it does hold a limited amount of photos. So the actual number for that is 18. So 18 total can be uploaded. All right, so to upload the images from your phone, you'll want to go ahead and press Add on the IQ 4. All right, so we will press this drop down right here. We're going to go to Panel AP. So this is going to allow us to connect to the system through the AP mode. So to do that, we'll first press Start. OK, so now you can scan the QR code or manually enter this information. I will go ahead and scan the code. It may appear a little blurry as my camera is not in the best shape right now. So join this. Just make sure that's joined. OK, it is. Perfect. We'll go back to camera and we will scan the second QR code. All right. OK, so after scanning the second QR code, it will bring us to this page here. Now, I am using Safari, and I also tested this with Chrome and I did get a similar-- it will show up as essentially an error screen. It's going to say the connection is not private. If that does show up, all you will need to do is press Show details, and then near the bottom of the page, you will see, connect or connect to website showing as an option as well. So if you do get an error saying the connection is not private, just press Show details and then you'll see on that second page, the option to then connect with the website. When you do that, it will then bring you to this page here. We will press Choose files, Photo Library. Going to select some images and then press Add. Now, the images do have to be a certain size to actually upload. So they need to be under 1440 by 2560. If they were over that size, you will receive a secondary error after you press Send image files. My images are the correct size, so Send image files. OK, perfect. So that showed that they successfully went over to the panel. So I'm going to stop the AP mode on the panel. OK, we'll go to Home. All right, so now we're going to go back to photo frame. So top gray bar, Photo Frame. OK, we see the images I uploaded are here. So we can view them. OK, you can also press Play and that's just going to start the automatic scroll of the images. I have it right now set to about one minute and then I'll scroll over. If we tap on, it'll bring us back. And now, if you want this to be essentially a screensaver for the panel, you can go to Settings. And then here are all of our options here. So duration. That's why I was just mentioning. This is how long an image is going to show on the panel before it switches to the next one. One minute, two minute, five minutes. Effect, so dissolve or fade to black, that's going to be how they're going to change over to the next one. You have a Shuffle option. So it can go either in order or it will just do randomly. And down here, Display type. So this is-- so when the panel is going to go to essentially like sleep mode, you can select what's going to show on the screen. So either off, the panel is going to just go black, photo frame, it's going to show our images, or weather clock, it's going to show weather and clock. The start time here, so how long until the actual screen saver starts. So if no action is performed at the panel, it's going to switch over to the screen saver. Our options here, one minute, five minute, 10 minutes, 15, 20, 25, and 30. Nighttime mode start time. So what this does is this will disable this feature. So say it's nighttime. You don't want the images to be going across the screen, you just want the panel to not really do anything. So say if you're sleeping, you don't really want the brightness of the screen, so you can select a certain start time for this. By default, it's 11 PM, but you can change it to whatever time you'd like. And then end time, when you want that feature to disable so the system can start functioning again. Again, you can select whatever time you want with this. 6 AM. All right, and then nighttime mode settings. So this is essentially saying what is going to be turned off. So display, voices, chimes, LEDs. You can select all of these if you want or whichever ones you like, and when nighttime mode activates, everything selected will be disabled. OK, so that is how we configure the photo frame option on our IQ 4 Panel. We showed how to access the feature. We deleted the default options there. We uploaded our own images to the panel, configured the options and got our screen saver active for the system itself. If you did like the video, please like the video. Subscribe to our YouTube channel and press the bell icon to be notified about any future videos we upload. If you had any questions, feel free to contact us. Our contact phone number is 888-818-7728. Our email address is support@alarmgrid.com And if you come to our website www.alarmgrid.com, we have a live chat option on there as well. So feel free to use any of those to contact us and we'll be happy to assist you. Again, my name is Dylan from Alarm Grid and thank you for watching.
- Uploaded
