Qolsys IQ Panel 4: Program a Z Wave Device
Related Products
Description
In this video, Dylan from Alarm Grid shows you how to pair a Z-Wave device with the Qolsys IQ Panel 4. For this example, he will ...
Transcript
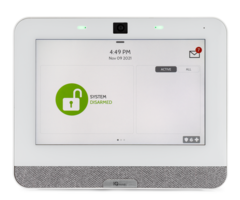
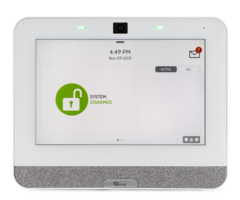
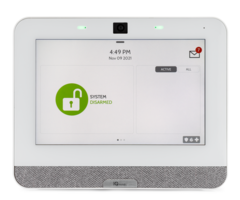
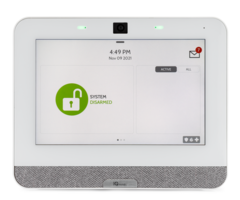
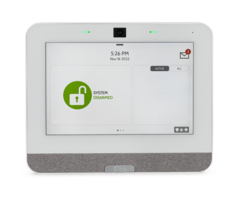
Hey, DIYs, it's Dylan here with Alarm Grid. Today, we are going to go over how to program a z-wave device to your QoIsys IQ panel four. This is going to be used for home automation devices, such as lights, locks, thermostats, and devices similar to those. This is not meant for security sensors or life safety devices. So no door sensors, no smoke detectors, no motion sensors, or anything like that. Just home automation devices. So non-security essential devices. Today, we're going to be programming a z-wave light to the panel. And then test it from the panel, as well just to ensure it's working and that connection is strong enough. OK, so we have our QoIsys panel here. And the z-wave device we're going to be pairing today is a smart switch, a Jasco z-wave smart switch. And right here is called the function button, which we're going to see show up on the screen here in a bit. This is how you're going to get the device to pair to the QoIsys panel. So first things first, I'm going to plug-in our smart switch, OK. And let's go ahead and get this paired. So to start, we're going to go to the gray bar at the top. We're going to go into settings, advanced settings. Enter user code. We're going to enter the installer code. We haven't changed ours, so it's still set to the default of 1111. We're going to go to installation, devices, and then z-wave devices. So a good common practice for z-wave is to clear the device or perform an exclusion before we try to include or pair this with the panel. Even if you have a brand new device, this is always something good to follow. Makes the connection process much easier. So we'll go to clear device. It's going to ask us to press that function key or the learn button that we saw earlier. Device is cleared from the network successfully. Perfect. So I press the function key on the plug while it's plugged in. When I did that, it activated the switch, which then turned on our light. And we now have this cleared. All right, so I'm going to turn that back off. We're going to go to add device now. We're going to press include at the bottom. And then same exact thing, we're going to press the function key on the switch. That turned on our light again. And we have it learned into the panel. So again, the device that you're going to be using, they're going to have different function keys or processes of getting that to start. So just make sure you check whatever guides come with the device to review that. So right here, we have options to name the device, what type of device it is. Name, again, automation. So everything here is looking pretty good. It's just a light we're just going to be testing here. So we don't have to change much about this. Light is added to network successfully. The light is added. Perfect. So now, what we'll do is we'll go back to the home screen. And then when you have z-wave devices paired to the QoIsys IQ panel four, you can access that from the main screen. So to do that, we are going to swipe. See right here, we have the light. Right now, it's showing on. So let's select. And let's turn the light off. As you see, our lights are now off. We're going to select it again. Turn it on. And then we have it on. And again, very fast signal. Of course, we're pretty close. So that signal is going to be pretty much almost instant. If you have devices further away, that connection can slow down a bit. But you can also set up other z-wave devices in between the two to create a mesh network to get that device communicating a little bit faster. So once again, let's just turn this light back off. Perfect. So that's essentially it. We have our light paired to our closest panel. OK, so we got the z-wave light program to our QoIsys panel. We test it, made sure the light turned on and off when we sent the command from the panel. And everything seemed to work out fine. If you did like the video, please subscribe to our channel. Hit the bell icon to be notified when we release more content. If you did have any questions for us as well, feel free to call us. Our contact number is (888)-818-7728. And you can also reach us by email. The email address is support@alarmgrid.com. Once again, my name is Dylan. And thank you for watching.
- Uploaded
