How Do I Add a Key Fob to a DSC Impassa?
You can add a key fob to a DSC Impassa by putting the system into its wireless enrollment mode and then pressing and holding a button on the key fob for three seconds. You will then adjust the settings and configurations for the key fob. The key fob must operate at 433 MHz to be enrolled.
Please note that only compatible key fobs will work with the DSC Impassa. The system will accept key fobs that operate at a wireless frequency of 433 MHz. Some of the compatible key fobs include the DSC WS4959, the WS4949 and the WS4939.
Complete the following steps to learn in a key fob with a DSC Impassa:
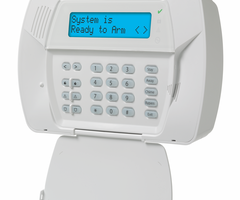
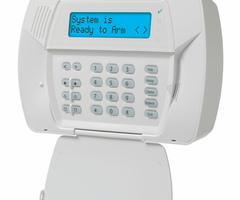
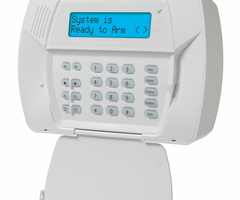
1. Activate wireless enrollment mode. With the DSC Impassa System powered on and disarmed, enter in the command [*][8] [Installer Code] [898]. The default Installer Code is 5555. The screen will display "Wireless Enrollment Mode" if the command was entered in successfully.
2. Enroll the key fob. Press and hold a button on the key fob. The system should recognize the key fob and display its serial number on the screen. Confirm the serial number is correct then press the [*] key. This will enroll the key fob.
3. Choose a slot. By default, the key fob will be assigned to the next available key fob slot for the system. You can assign it to a different slot by using the arrows to scroll through available slots. But in most cases, it is fine to just assign it to the next available slot. Once you have chosen a slot, press the [*] key to continue.
4. Exit programming. Keep pressing the [#] key until you return to the main screen. This will exit programming and save your changes. You will then be able to use the newly programmed key fob to control the system.
Did you find this answer useful?
We offer alarm monitoring as low as $10 / month
Click Here to Learn MoreRelated Products



Related Categories
- Home Security Systems
- Business Security Systems
- Apartment Security Systems
- Small Business Security Systems
- Monitored Home Security Systems
- DIY Wireless Security Systems
- Answered

