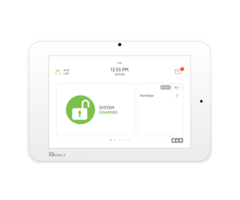
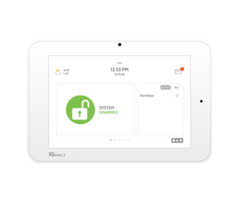
How Do I Add a Wireless Zone to a Qolsys IQ Panel 2?
You can add a wireless zone to a Qolsys IQ Panel 2 by putting the panel into its device enrollment mode and then activating the sensor. From there, the settings and configurations for the wireless sensor can be adjusted as needed. The Installer Code or the Dealer Code is needed to do this.
 The Qolsys IQ Panel 2 will provide support for up to 128 different wireless zones. The standard system can only support wireless 319.5 MHz sensors. Qolsys also offers three types of IQ Panel 2 Plus Systems that come equipped with wireless receivers for supporting existing Qolsys Sensors and Interlogix/GE Sensors (319.5 MHz), legacy Honeywell 5800 Series and 2GIG Sensors (345 MHz) or legacy DSC Sensors (433 MHz). Please note that only one legacy daughtercard can be used with an IQ Panel 2 Plus at any given time. In addition, all of the IQ Panel 2 Plus Systems support the DSC PowerG Series of long range wireless devices.
Complete the following steps to add a wireless zone to a Qolsys IQ Panel 2:
1. Enable learn mode. Start from the home screen of the IQ Panel 2. Then press the small grey bar at the top of the screen. Choose Settings > Advanced Settings > Installer Code or Dealer Code (1111 and 2222 by respective default) > Installation > Devices > Security Sensors > Auto Learn Sensor. This will put the IQ Panel 2 into its enrollment mode.
2. Enroll the sensor. While the system is in its wireless enrollment mode, activate the sensor. The system should chime and confirm once it has recognized the sensor. Press the "OK" button to continue.
3. Configure the settings. Adjust the settings for the sensor as needed. Once everything has been set, click the "Add New" button to save the changes for the wireless zone. This will complete the process of adding the zone to the system. The settings for each zone include:
- Sensor Type: i.e., Door/Window, Motion, Glass Break, Key Fob, etc.
- Sensor Group: See page 46 of the Install Guide for details.
- Sensor Name: This is a description of the location of the zone, such as Front Door.
- Chime Type: If the zone will chime, select the sound to be produced here. You can also set this to None. Only zones assigned to a Sensor Group that provides a chime sound will chime.
- Voice Prompts: Determines if the zone will speak the voice descriptor when faulted.
- Source: Filled in automatically, based on the sensor type learned in. S-Line or SecurityRF-319 are the available options in the standard panel version.
4. Exit programming. Press the picture of the house at the bottom of the screen to return to the home screen once programming is completed. The system should then acknowledge whenever the wireless sensor has been activated, and it will perform the programmed response for the zone if appropriate.
Did you find this answer useful?
We offer alarm monitoring as low as $10 / month
Click Here to Learn MoreRelated Products


Related Videos
Related Categories
- Home Security Systems
- Business Security Systems
- Apartment Security Systems
- Small Business Security Systems
- Monitored Home Security Systems
- DIY Wireless Security Systems
- Answered

