How Do I Enable Disarm Image Notifications on the IQ Panel 2?
Enable Alarm.com to send disarm images from the IQ Panel 2 via text or email by first enabling the images to be taken by the panel. Once done, login to Alarm.com, go to Automation, then Rules. Enable the "Capture Panel Camera Disarm Images" option, and set the notification recipients.
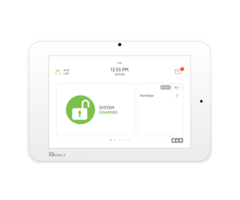
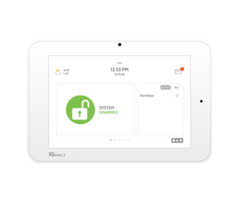
The Qolsys IQ Panel 2 features a 5 MP Fixed Focus camera that can be used to take still images whenever the system is disarmed, whenever the advanced settings menu option is accessed, and whenever an alarm occurs. This camera can also be enabled to record a 4 minute video upon an alarm. When disarm images are enabled at the panel, they can also be sent via text or email to notification recipients through Alarm.com.
To verify that Disarm Images are enabled, click the gray bar at the top of the home screen. Then go to Settings > Advanced Settings > Enter the Installer or Dealer Code (shown below) > Installation > Camera Settings. See the table below for all available options and their default values:

Camera Settings Options
|
Setting |
Default |
Description |
|---|---|---|
|
Secure Delete Images |
Enabled | When enabled, a code is required to delete any disarm or image sensor photos. |
| Disarm Photos | Enabled | When enabled, the built-in camera will take a single photograph when a user disarms the panel. When disabled, the panel will not capture images upon |
| Alarm Photos | Enabled | When enabled, the built-in camera will take a single photograph during an alarm event. |
| Alarm Videos | Enabled | When an alarm is triggered, the panel will record a video clip for 4 minutes using the camera's built-in 5 MP camera. |
| Settings Photos | Disabled | When |
| Allow |
Disabled | When enabled, the Master Code can access these features and settings. |
Once disarm photos are enabled in the Qolsys IQ Panel 2, follow these steps to enable them to be sent as notifications through Alarm.com:
1. Log-in to Alarm.com. Log-in to your account through the customer Alarm.com portal. Use the same log-in credentials that are used to access the Alarm.com App.
2. Go to Automation. Once logged-in, click on the Automation option on the left side menu.

3. Enable the Rule. This notification is enabled in Rules. Click the Rules option at the top of the page, find the rule titled "Capture Panel Camera Disarm Images". Enable the rule. Then click the "Edit" icon.

4. Choose notification recipients. In the edit screen, the only option available is choosing who will receive these notifications. Click "Add Recipient". You can choose from a list of available email and SMS recipients, or you can choose to add a new one.


If you choose to Add a Contact, fill-in all the information required. This includes first name, last name, and either an email address or a mobile number for SMS. Both email and SMS can be used, but at least one is required. When adding a mobile number, make sure to include the country (USA or Canada) and the service provider. The providers listed will be determined by the country chosen. Once all information has been added, select "Add Contact". This user's information will automatically be added to the notification you're setting up for disarm images. Click "Save" to exit.

After these settings have been saved, the next time a disarm is performed from the system, an image will be taken by the built-in camera. It will be stored in the panel. It will also be forwarded to Alarm.com so that it can be shared with the selected recipients. These images are secure, and they cannot be viewed by your dealer or by Alarm.com. They can only be viewed by the recipient(s).
Did you find this answer useful?
We offer alarm monitoring as low as $10 / month
Click Here to Learn MoreRelated Products


Related Categories
- Home Security Systems
- Business Security Systems
- Apartment Security Systems
- Small Business Security Systems
- Monitored Home Security Systems
- DIY Wireless Security Systems
- Answered
- Answered By
- Julia Ross
