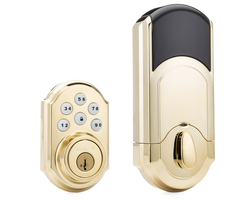
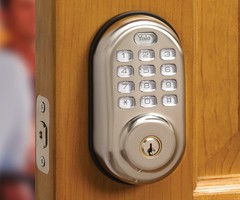
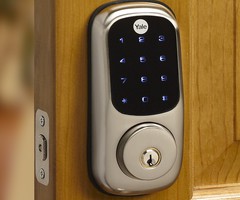
How Do I Enroll a Z-Wave Lock to my Security System?
You can enroll a Z-Wave lock to your security system by first clearing the lock from the network. Then you will put the system into Z-Wave inclusion mode and activate the inclusion function on the lock. This will add the device to your system. You can then install the lock into your door.
Once the lock has been enrolled into your system and installed in a door, you will be able to lock and unlock the door right from the security panel. You can also do this remotely using either Total Connect or Alarm.com. The service you use will depend on what type of security system you have. You will also be able unlock the device at the door by entering in any valid system user code into the keypad on the lock.
The process for enrolling Z-Wave locks varies between different types of security systems. However, the process is similar no matter what kind of system you are using. Complete the following general steps to enroll a Z-Wave lock into your security system:
1. Clear the lock. Many locks are enrolled with a Z-Wave network before they even leave the factory as part of a quality check. For this reason, you will want to clear the lock from the network before attempting to add it to your system. Start by entering the Z-Wave exclusion mode on your panel. This is usually found somewhere in the "automation" section of the panel. For example, on a Honeywell Lyric Controller, this is done by going to Automation > Tools > Exclude Devices. In the 2GIG GC3, from the Installer Toolbox, go to Smart Home Settings > Remove Devices.
Once your panel is in exclusion mode, activate the inclusion function on the lock itself. Some locks will have an inclusion button on the back, while other locks will require you to enter in a specific code. Check the instruction manual for your lock to find out how to activate its inclusion function. Make sure the lock is right by the panel when you do this. The system should display a message that a device has been removed from the network.
2. Enroll the lock. Enter the Z-Wave inclusion mode on your panel. Much like the exclusion mode, the inclusion mode is generally found somewhere in the automation section of the panel. Once the system has entered inclusion mode, activate the inclusion function on the lock. This is the same process that was used when excluding the lock. After the lock has been included into the network, a message will be displayed on the panel, with an option for you to name the lock. Again, this is best done with the lock and the panel with a foot, or so, of one another.
3. Install the lock. Once the lock has been included with your system, you can then install it into the door. This process can vary slightly depending upon what type of lock is being installed. See the instruction manual for the lock to learn how to install it.
4. Test the lock. On your panel, there should be a section for Z-Wave locks. This section can typically be found under automation. The lock you enrolled with your system should be displayed with the name you provided. By selecting that lock, you should be able to lock and unlock the device. Test this by using your panel to lock the Z-Wave door lock. Check the door to make sure that it is locked. Then, at the panel, attempt to unlock the door by selecting the lock. Go back to the door, and checked to see if it is unlocked. If your panel is able successfully lock and unlock the door, then the Z-Wave locked was enrolled and installed correctly.
Did you find this answer useful?
We offer alarm monitoring as low as $10 / month
Click Here to Learn MoreRelated Products


Related Categories
- Answered
