How Do I Power My Tuxedo Keypad From an Auxiliary Power Supply?
You can power your Tuxedo Keypad from an auxiliary power supply by connecting the keypad to both the power supply and the VISTA Panel. You will also need to run a common negative wire from the panel to the auxiliary power supply. Otherwise, an error will show on the panel keypad.

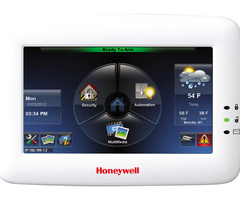
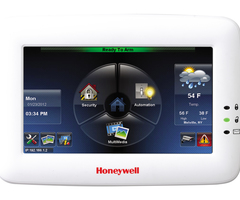
Normally, it is just easiest to wire the Tuxedo Touch to the panel. This would involve using terminals 4 thru 7 on a VISTA Low P-Series board. The panel will provide sufficient power for the keypad, and you will not need to use any additional equipment. However, the VISTA Low P-Series panels only supply up to 600 mA of current for powered devices. The Tuxedo Touch requires 280 mA of current for a single keypad. If you find that adding the keypad would exceed the maximum available power load for the system, then powering the Tuxedo Keypad using an auxiliary power supply is the only option.
In order to power a Tuxedo Touch Keypad using a power supply, you will need several things. Obviously, you will need a Tuxedo Touch Keypad and a VISTA System. You will also need a power supply. For this example, we will be using a Honeywell AD12612. The transformer we will use to power it will be a Honeywell 1361. Finally, you will need a backup battery to keep the power supply running in case the power goes out. We will use an UltraTech 1240 in our example.
Note: If you have a VISTA TURBO Panel, such as a VISTA-128BPT or a VISTA-250BPT, please see this FAQ instead.
If you decide to power a Tuxedo Touch Keypad using an auxiliary power supply, complete the following steps:
1. Power down the panel. Do not attempt to add new hardware without powering down your panel first. Disconnect the backup battery and unplug the transformer for the panel. Make sure it is powered down before continuing.
2. Wire at the Tuxedo. The Tuxedo Touch uses a 4-wire connection. We recommend using a 4-conductor wire for the job. The best wire size is 18 AWG, but you can use a similar gauge if that's what you have on hand. Run the wire through the Tuxedo Touch backplate so that you can properly mount the keypad later.
At the Tuxedo Touch terminals, connect the Yellow/White wire to Y, connect the Red wire to positive (+), connect the Black wire to negative (-), and connect the Green wire to G. Make sure the connections are nice and secure, but not overly tight. You will complete the remaining connections in the next step.
3. Wire everything else. Take the other end of the wire you connected at the Tuxedo Touch, and make the following connections:
- Black Wire at Negative (-) on the Honeywell AD12612 Power Supply
- Red Wire at Positive (+) on the Honeywell AD12612 Power Supply
- Green Wire at VISTA Panel Terminal 6 for Data In
- Yellow/White Wire at VISTA Panel Terminal 7 for Data Out
Additionally, connect wires from the two (2) terminals on the Honeywell 1361 Transformer to the two (2) AC Transformer terminals on the Honeywell AD12612. Also run a single common negative wire from VISTA Panel Terminal 4 to Negative (-) on the Honeywell AD12612. You should also connect the backup battery to the Honeywell AD12612. You can plug in the Honeywell 1361 Transformer after you have made all the connections.
The diagram below shows where all the wires go:

4. Test the keypad. You can now power the VISTA System back on. Plug its transformer back in first, and then reconnect the backup battery. The panel and the power supply cannot share a transformer. If everything was wired correctly, the Tuxedo Touch Keypad should power on. You will need to address the Tuxedo Touch Keypad with the system. For more information on addressing a keypad, please see this FAQ.
Did you find this answer useful?
We offer alarm monitoring as low as $10 / month
Click Here to Learn MoreRelated Products


Related Categories
- Answered
