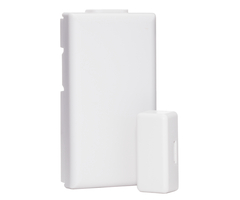
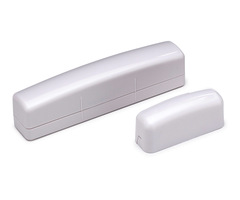
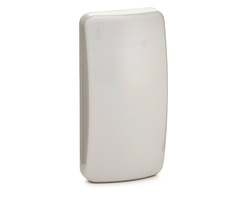
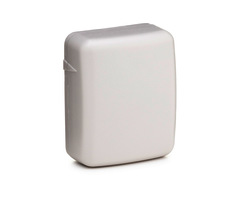
How do I install Honeywell wireless door/window sensor?
A Honeywell wireless door or window sensor should only be used with a Honeywell wireless security system. The first step to installing your wireless door or window sensor is to conduct a Go/No Go test to verify that the wireless door or window sensor will have adequate wireless reception back to the wireless security system or wireless receiver at the intended installation location. Once you have chosen the appropriate installation location, you can simply use the included double sided tape to affix the wireless transmitter to the frame of the door or window to be protected. WIth a door, you should mount the transmitter vertically on the frame opposite the door hinges. With a window, you should mount the transmitter on the frame at the bottom left or right of the window. The reason you should mount the wireless transmitter on the frame and not on the actual door or window is so that the delicate circuitry inside the wireless transmitter's case does not get knocked around every time you close the window or door. There is no true top or bottom to the wireless door or window sensor. However, it is important that you mount the included magnet next to the side of the wireless door or window sensor that is marked for magnet alignment. Therefore, you should align the transmitter so that the magnet alignment marks are facing the door or window. You can use the double sided tape to affix the magnet to the window or door. Of course, if you don't have double sided tape or want a more permanent installation, you can pop the cover of the wireless door or window sensor and use screws to mount the transmitter's back plate to the door or window frame.
Did you find this answer useful?
We offer alarm monitoring as low as $10 / month
Click Here to Learn MoreRelated Products


Related Categories
- Answered

