How Do I Change the Date/Time On a PROA7 or PROA7PLUS?
When not being used in local mode, ensure the proper time by setting your local time zone. It is also an option to allow the PROA7 or PROAPLUS to follow daylight savings time. You will need the Installer Code to access this setting. When used in local mode, the time and date cannot be set.

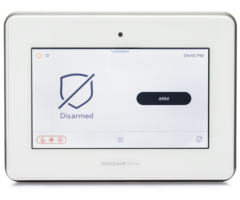
Resideo's PRO Series alarm panels include the Honeywell Home PROA7PLUS, Resideo PROA7PLUSC, Honeywell Home PROA7, and the Resideo PROA7C. The difference between the Honeywell Home vs the Resideo panels is just the labeling on the front. The biggest difference between the PLUS and Non-PLUS versions is that the PLUS versions come with built-in WIFI and Z-Wave. The non-PLUS versions require an extra module to add those features. We also dig further into other differences between the two variations in this article.
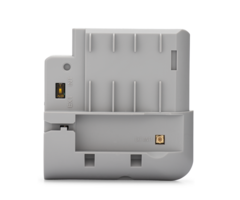
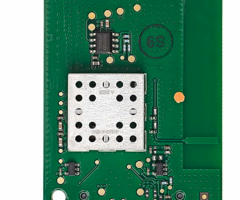
In this guide, we distinguish between a monitored alarm and a local alarm system. Based on our earlier discussion, a PROA7 or PROA7C would need a communications module installed after purchase in order to be monitored. This could be a PROWIFI or a PROWIFIZW internet communicator and/or a PROLTE-A or a PROLTE-V cellular communicator. This would allow the panel to connect to the AlarmNet 360 servers in order to always show the proper date and time.
If you have a local alarm system, meaning you intend to use the system as a just a local noise-maker, then the time and date cannot be set. If you have a monitored alarm system, follow the steps below to get the proper date and time:
1. Sign up and get your alarm monitoring started. Until your monitoring has been activated, your system is the same as a local alarm system. When monitored, the panel will automatically have its time and date synced with AlarmNet360.
2. Access Time Settings. From the home screen, you select the 3-lined hamburger menu > Tools > enter 4-digit Installer Code (default is 4112) > Programming > Advanced Settings > System.
3. Set the time zone. Select "Time Zone Offset" and select your local time zone.
4. Select Daylight Savings Time if desired. Select "Daylight Savings Time" If you would like the time to adjust when daylight savings time occurs in your area.
5. Verify the correct time and date. Compare the clock with an accurate source, such as your smartphone or tablet. Make sure it is showing the correct time based on your time zone.
Having the correct time and date on the panel is a useful tool. The main reason is so that events that get logged by the panel, such as arming, disarming, and alarms, have an accurate date and time stamp associated with them. This is beneficial when investigating things that have occurred on your system. Having an accurate clock can also provide the correct time when arming so you can be sure that you are going to make it to work on time!
Did you find this answer useful?
We offer alarm monitoring as low as $10 / month
Click Here to Learn MoreRelated Products


Related Categories
- Access Controls
- Access Controls
- Apartment Security Systems
- Monitored Home Security Systems
- Small Business Security Systems
- DIY Wireless Security Systems
- Wireless Touchscreen Alarm Panels
- Answered
- Answered By
- Fred Daniels


