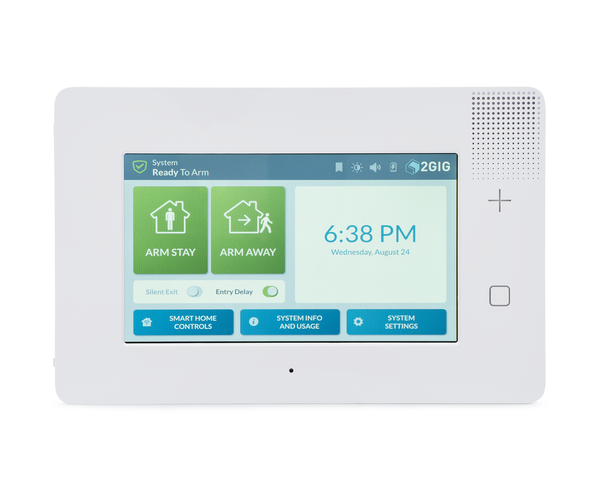
How Do I Change the Partition Assignment On a GC3 or GC3e Zone?
You can change the partition assignment on a GC3 or GC3e zone by first deleting the zone entirely, and then reprogramming the zone from scratch. You will choose the Smart Area Partition assignment as part of the zone programming process. Following this process will prevent errors later on.
 Partitions on a 2GIG GC3 or 2GIG GC3e are referred to as "Smart Areas". There are four (4) of these Smart Areas on a single GC3 or GC3e System. Smart Areas can be enabled or disabled in Question 69 of programming. But even if Smart Areas are disabled, you will still be asked to assign a Smart Area whenever you are programming a zone on the system. For more general information on 2GIG GC3 and 2GIG GC3e Smart Areas, please see this helpful FAQ.
If there is a programmed zone on the system that you want to switch to a different Smart Area, then you should delete, or clear, the zone entirely first, and then reprogram that zone from scratch, this time applying the proper Smart Area Assignment selection. If you try to cut corners by just merely changing the Smart Area Assignment for the zone and leaving every other setting intact, then it's possible that you run into issues later when using the system. With that in mind, you should make sure to always follow this process when making Smart Area adjustments.
This process is the same whether you are using a 2GIG GC3 or 2GIG GC3e. Complete the following steps to change the Smart Area Partition Assignment on a GC3 or GC3e zone:
1. Clear the zone. From the main screen of the 2GIG GC3 or 2GIG GC3e, click the 2GIG logo in the upper-right corner. Provide the Installer Code for the system. This code is 1561 by default. Select System Configuration. Then choose Wireless Zones. You will enter into Zone Programming.
The system zone slots are displayed on the left-hand side of the screen. Scroll through the list and find the zone that you want to switch. Click the trashcan icon to clear the zone. The system will ask for confirmation. Verify that you do want to confirm or delete the zone. The zone will then be cleared from the system.
2. Apply the change. You need to apply the change so that the system "saves" the fact that the zone was cleared and that it is now open and available on the system. Click the Return to System Configuration button in the upper-right corner. Then click on the return arrow on the left-hand side of the screen. Select Save. The change will be saved and applied to the system.
3. Reprogram the zone. You will now reprogram the zone from scratch. First you need to reenter programming. Again, the commands are 2GIG Logo > Installer Code (default 1561) > System Configuration > Wireless Zones. Once you enter Zone Programming, find the available wireless zone on the left-hand side of the screen. Click on that zone so that you can begin programming it.
The programming options for the zone you selected will be displayed on the right-hand side of the screen. Go through and program the zone its entirety. Remember that you will need access to the sensor for auto-enrollment. Pay particularly close attention to the Smart Areas Assignment selection, as this determines the partition that the sensor is assigned. Also make sure to set the correct Equipment Code, as failing to so may result in issues. For an in-depth look at GC3 and GC3e Zone Programming, please refer to this comprehensive FAQ.
4. Save and exit. Once you have finished reprogramming the zone, you can save the changes and return home. Start by clicking the Return to System Configuration button in the upper-right corner. Next, press the return arrow on the left side of the screen. Choose Save. The changes will be saved, and you will return to the home screen.
Did you find this answer useful?
We offer alarm monitoring as low as $10 / month
Click Here to Learn MoreRelated Products
Related Categories
- Answered


