How Do I Enroll a Z-Wave Lock to My Qolsys IQ Panel 2?
You can enroll a Z-Wave lock to your Qolsys IQ Panel 2 by first putting the system into its Z-Wave inclusion mode. With the panel in this mode, activate the inclusion function on the lock. The system will recognize the lock and learn it in. You can then adjust the settings for the lock.
Complete the following steps to program a Z-Wave lock to your Qolsys IQ Panel 2:
1. Exclude the lock. Start by bringing the lock within just a few feet of the IQ Panel 2. During the enrollment process, having the lock nearby will allow it to communicate more effectively. Before attempting to include the lock in the Z-Wave network, you should first exclude it from the network. Many locks are included with a network as part of factory testing. This makes them unable to pair with a network before they are excluded. This is true for almost any Z-Wave device.
Start from the main screen of the IQ Panel 2. Click the small grey bar at the top of the screen. Go to Settings > Advanced Settings > Installer Code (default is 1111) > Installation > Devices > Z-Wave Devices > Clear Device. This will put the panel into its exclusion mode.


All available options pertaining to Z-Wave are shown below:
Then take the Z-Wave lock, and activate its inclusion function. On some locks, there will be an inclusion button on the back. Other locks will require you to enter in a specific code on the keypad. Check the lock's installation manual for more information. Once the IQ Panel 2 recognizes the lock, it should display a message stating a device has been cleared. Press the "OK" button to continue.
2. Include the lock. On the IQ Panel 2, press the "Add Device" button, followed by "Pair". The panel will enter into its inclusion mode. With the panel in this mode, activate the inclusion function on the lock. This is the same function that was used to exclude the lock in Step 1. The IQ Panel 2 should recognize the lock and include it into the network. From there, provide a name for the lock, and press "Add" to save any changes that were made. Then press the picture of the house at the bottom of the screen to return to the home screen.
3. Install the lock. With the lock enrolled, it can then be installed into the door. This process will vary depending on the type of lock that is being used. Refer to the lock's installation manual for more information.
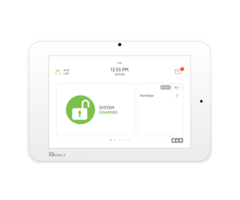
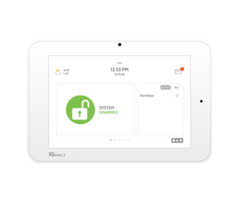
4. Test the lock. With the lock installed and enrolled with the system, it can then be tested. From the home screen of the IQ Panel 2, verify that the lock is listed on the right side of the screen. Then swipe the screen to the right until you access the locks menu. Pressing the large green key will lock the door. Press this button, and make sure that the door can be locked and unlocked. If the IQ Panel 2 can lock and unlock the door, then the Z-Wave lock was programmed successfully. You will also be able to lock and unlock the door from Alarm.com.

Did you find this answer useful?
We offer alarm monitoring as low as $10 / month
Click Here to Learn MoreRelated Products

Related Videos
- Answered

