How Do I Test My Qolsys IQ Panel 2 Glass Break Sensor?
You can test your Qolsys IQ Panel 2 Glass Break Sensor by using a recorded sound clip that mimics the sound of breaking glass. The sensor must be enabled from within Installer Settings before it will be active. The integrated glass break sensor will take up one of the system's zones.

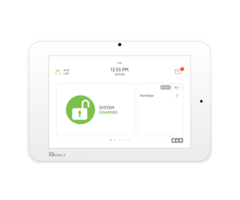
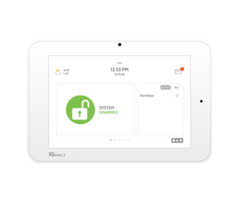
The Qolsys IQ Panel 2 Glass Break Sensor is capable of detecting a broken window or glass casing from up to 15 feet away. It uses a built-in microphone that listens for the distinct sound of glass breaking, and the system will trigger an alarm if this sound is picked up. The sensor works very effectively by using dual microphones and a quad-core processor to actively distinguish between true glass break events and false alarms. It is integrated right into the system, and it makes for a great alternative to a standalone glass break sensor.
If a user wants to use the built-in glass break sensor, they must enable it from within Installer Settings. This menu can be accessed by pressing the small grey bar at the top of the main screen and then choosing Settings> Advanced Settings > Installer Code (default 1111) > Installation > Installer Settings > scroll down to Panel Glass Break Detector and check the box. Upon checking the box, you will be immediately taken to a menu where you can configure the glass break settings. Make sure to press Save when finished.
Once you have enabled the zone, you can test using a pre-recorded glass break sound clip. Alarm Grid actually has one of these sound clips shown below:
Alternatively, you can use a conventional glass break tester to test the built-in glass break as well. This is usually more accurate than using a recorded sound clip. However, a glass break tester must be purchased separately. If you do decide to get a glass break tester, a good one to use is the Honeywell FG701.
Please note that you should make sure to put your system on test mode with the central station before testing your panel's glass break sensor. The steps below assume that the built-in glass break zone has already been enabled. If you do decide to test using a recorded sound clip, complete the following steps:
1. Load the sound clip. The easiest option is to load the video clip shown above on your Android or iOS device. Prepare the video so that it is ready to play when you go to test the glass break.
2. Arm your system. The Sensor Groups associated with the glass break zone will only instruct the zone to be active when your system is Armed. Set your system to Arm Away. Make sure to fault and restore an Entry/Exit Zone during the Exit Delay countdown to ensure that Auto-Stay Arming does not activate. Also make sure you do not trigger an alarm after the system is Armed.
3. Test the glass break. Make sure your system is on test mode with the central station. Stand about 5 to 10 feet away from your IQ Panel 2 System. Activate the sound clip that you loaded in step one. Make sure the clip plays at full volume. The panel should verify that the glass break zone was activated, and alarm will occur. The central station will ignore any alarm reports that are sent out, as long as your system has been placed on test mode.
4. Clear the alarm. Provide your Master Code or a valid user code to Disarm the system and clear the glass break alarm. You can take your system off of test mode once you confirm that the panel's built-in glass break sensor is working properly.
Did you find this answer useful?
We offer alarm monitoring as low as $10 / month
Click Here to Learn MoreRelated Products


- Answered
