How Do I Use the Smart Start Feature on the Qolsys IQ Panel 2 Plus?
You can use the Smart Start feature on the Qolsys IQ Panel 2 Plus by accessing the Smart Start feature within the Z-Wave Devices Menu. Only a small selection of Z-Wave devices are compatible with the feature. The IQ Panel 2 Plus must have a Z-Wave Firmware Version of 6.81.03 or higher.

By using the Smart Start feature, you can pair various Z-Wave devices with your Qolsys IQ Panel 2 Plus System by scanning a QR code. The feature represents an alternative to the exclusion/inclusion process traditionally used with Z-Wave devices. There are very specific firmware requirements to use the feature, so keep that in mind.
As of June 2020, only the following products are known to support the Smart Start feature:
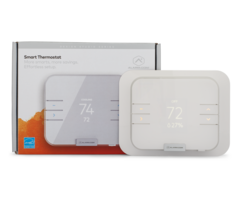
- Alarm.com ADC-T3000 Smart Thermostat (ADC-T3000)
- Alarm.com ADC-SWV100 Smart Water Valve (ADC-SWV100)
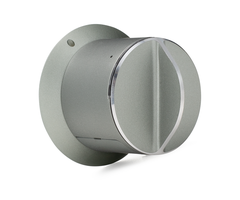
- Danalock DLOV3BTZU V3 Z-Wave Smart Lock (DLOV3BTZU)
- Qolsys IQ Dimmer (QZ2140-840)
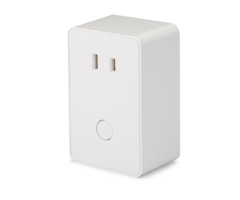
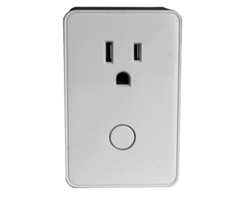
- Qolsys IQ Outlet (QZ2130-840)
- Eaton Wireless Switch (RF9601D)
- Eaton Wireless Accessory Switch (RF9617D)
- Eaton Universal Smart Dimmer (RF9640-ND)
- Eaton Smart Accessory Dimmer (RF9642-ZD)
- Eaton Duplex Receptacle (RFTR9605-T)
For more information on the Smart Start feature, please see our comprehensive FAQ on the subject.
Complete the following steps to enroll a device using the Alarm.com Smart Start feature:
1. Access the feature. Start from the home screen on your IQ Panel 2. Click the small grey bar at the top, and choose Settings > Advanced Settings > enter the Installer Code or Dealer Code (the defaults are 1111 and 2222, respectively) > Installation > Devices > Z-Wave Devices > SMART START. This will take you to the menu where you can use the Smart Start feature.
2. Pair using Smart Start. Find the QR code on your compatible Z-Wave device. It may be on its packaging, but it is usually on the device itself. Once you have found the code, bring the device or packaging to the IQ Panel 2 System. You will see that the main screen now displays what the front panel camera is seeing, with a red square in the center.

You want to position the QR code so that it is in the center of the square. The front panel camera will automatically detect the QR code and begin scanning it. The system will then proceed to enroll the Z-Wave device. You will then be able to configure the device settings.
It is also possible to manually enter the DSK code for the Z-Wave device. Simply enter the entire code, and then press ADD DSK. We do not recommend manually entering the DSK code. If you make a mistake while entering the code, the process will not complete successfully.
3. Configure device settings. You must now set a name for the device. Additionally, lighting devices will allow you to check a box to automatically apply simple automation rules. The following options for rules are listed below:
- Night: At 7:00pm, the lights turn ON. At 6:00am, the lights turn OFF.
- Evening: At 7:00pm, the lights turn ON. At 11:00pm, the lights turn OFF.
- Front Door: If a sensor with the default quick name of "Front Door" is faulted, then the lights will turn ON. Then, 15 minutes later, the lights turn OFF.
Once you have finished setting the name and the optional automation settings (if applicable), press the ADD button to finish adding the device to the network and save its settings.
4. Return home. Click the picture of the house at the bottom to return to the home screen.
5. Power the devices. Power up each device that was added using Smart Start. Upon power up, the provisioning process for each device will be completed. The progress of each device can be seen by checking the panel's provisioning list. To reach this screen press the grey bar at the top of the home screen, then select Settings > Advanced Settings > Installer Code or Dealer Code (1111 or 2222 by default) > Installation > Devices > Z-Wave Devices > Provisioning List.

Did you find this answer useful?
We offer alarm monitoring as low as $10 / month
Click Here to Learn MoreRelated Products

Related Videos
Related Categories
- Answered


